
If you're looking for a stunning dessert to make for your next dinner party, this one is a winner. It's definitely the most impressive looking dessert that I have under my belt. I had some egg whites in the freezer, and my mom requested a chocolatey dessert, so I began searching for a recipe to combine the two. My mom has a great cookbook filled with all kinds of chocolate dessert recipes. I have read through the book on many occasions, but had never made any of the recipes until now. Although this dessert takes some precision and patience, it is definitely worth your time. I got more compliments on this dessert than any other I have made before. People couldn't believe it was homemade. They might need some convincing to cut into it since it looks so pretty, but once they try it, your guests will be hooked.

I didn't fully read through the recipe before I got to work on the meringues. The one suggestion I have is to bake the meringues in the evening and allow them to cool in your fridge overnight, or make them in the morning. The cooling process took longer than expected and I ended up hogging the oven when other things were in need of baking. Also, do not assemble this more than a couple hours before you serve it. If this desserts sits too long, it will get soggy. I put mine together just before the dinner guests arrived and it was still perfectly crispy when dessert was served. When I snacked on the tiny slice left over the next day, I found that the crunch was gone. This recipe is delicious the way it was written. I left the top of my dessert plain, but you could drizzle some melted chocolate on top if you want.

Recipe from Greatest Ever Chocolate
For the Meringue:
3 egg whites
3/4 cup sugar
1 teaspoon cornstarch
1 ounce (25 grams) semisweet chocolate, grated
For the Filling:
5 ounces (140 grams) semisweet chocolate
2 tablespoons milk
2 cups heavy whipping cream (I used 2 1/2 cups)
2 tablespoons sugar (use more or less depending on your taste)
12 to 16 ounces raspberries (350 to 450 grams)
a little melted chocolate, to decorate
Preheat your oven to 275ºF/140ºC. On parchment paper, draw three 4 x 10 inch (10 x 25 cm) rectangles. Turn the parchment paper over and place it on 2 cookie sheets stacked together. This way you can see you outlines, but not have the pencil lead touch your meringue. If you're having trouble getting your paper to stay put, place a small dab of whisked egg whites one each corner and press it onto the cookie sheet (I used egg whites left behind on my whisk).
To make the meringue, whisk the egg whites in a clean bowl until stiff. Add half of the sugar and whisk until the mixture is stiff and glossy. Using a spatula, gently fold in the rest of the sugar, cornstarch, and grated chocolate.
Spoon the meringue mixture into a piping bag fitted with a 1/2 inch (1 cm) plain tip, or spoon it into a Ziploc bag and cut off the corner to create a 1/2 inch opening. Pipe the meringue across the rectangles traced on your cookie sheet.
Bake meringues for 1 1/2 hours, rotating the cookies sheet halfway through to ensure even baking. Without opening the oven door, turn it off and allow the meringues to cool inside the oven. Once cooled, carefully peel away the parchment paper. The meringues will be very delicate, so take your time doing this.
To make the filling, melt the chocolate with the milk in a double broiler (or place a saucepan over a pot of simmering water). Spread the melted chocolate over 2 of the meringues and allow them to cool.
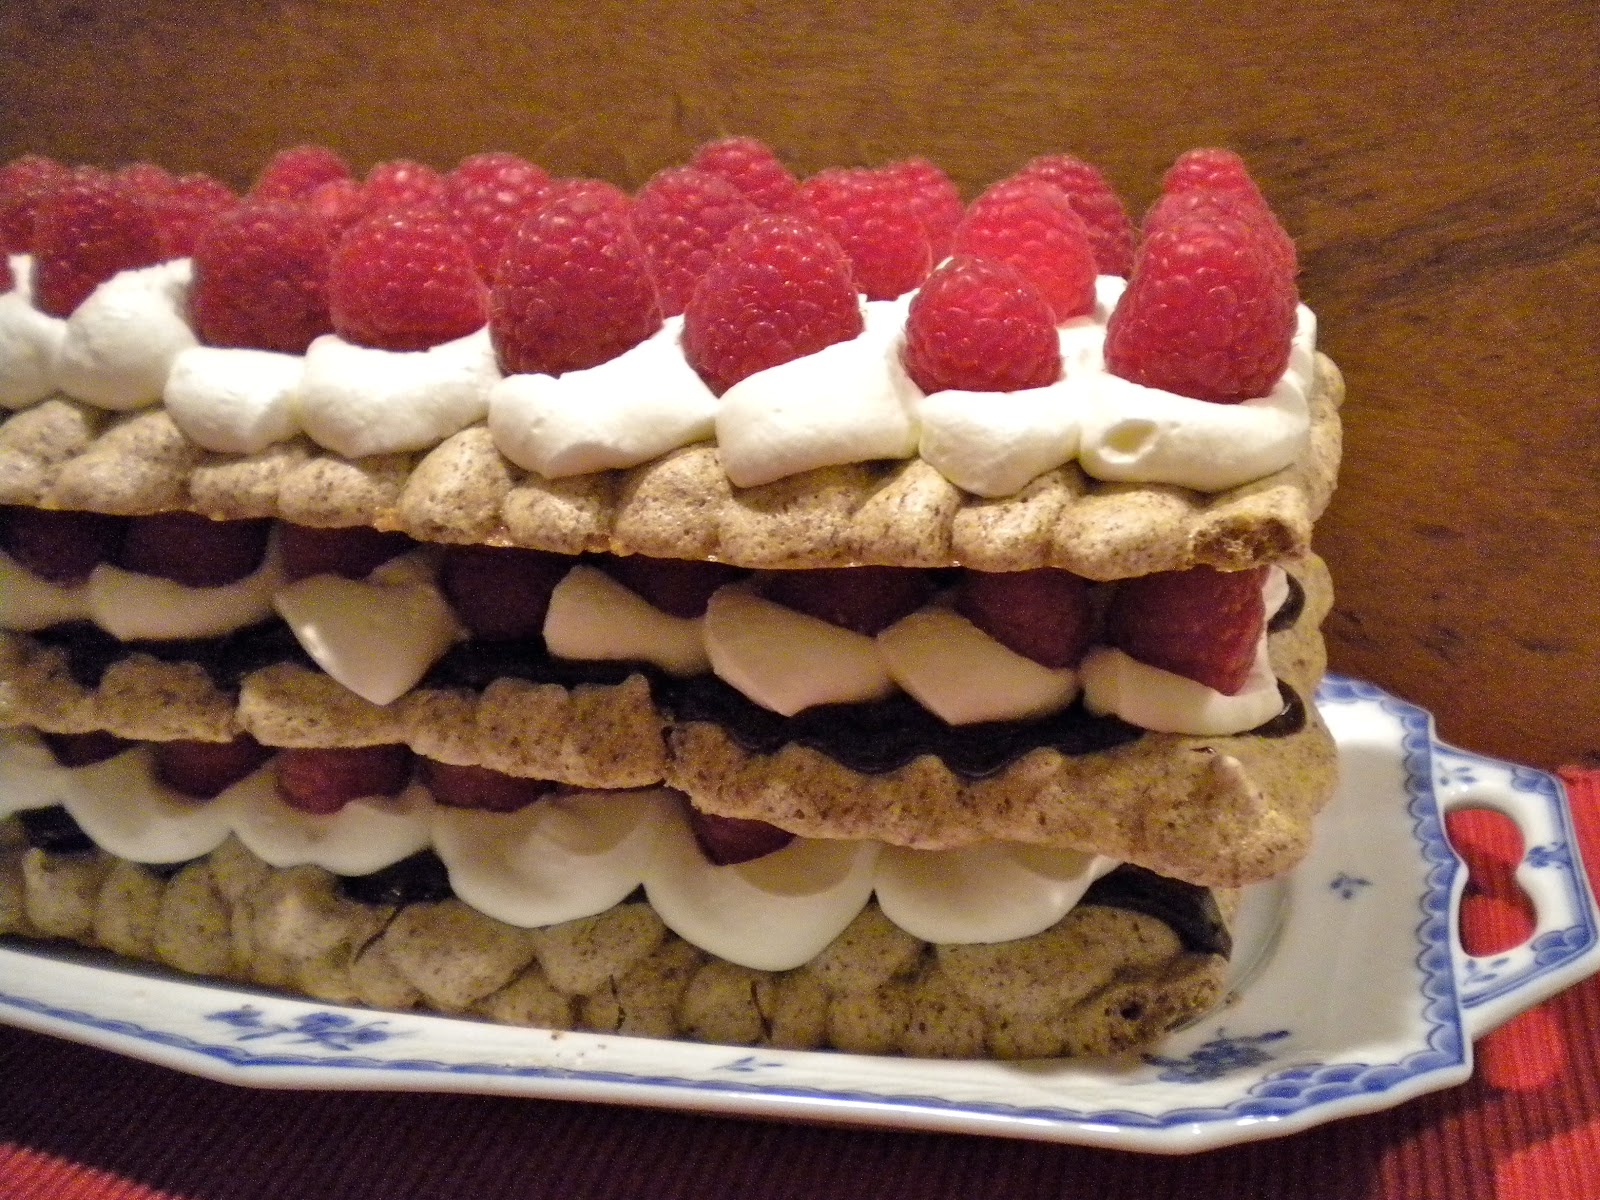
Whip the cream with the sugar and set aside. Place one of the chocolate coated meringues on your serving plate. Top with 1/3 of the cream and raspberries. Place the other chocolate covered meringue on top of the raspberries and cover with 1/3 of the cream and berries. Place the plain meringue on top and layer with the remaining cream and berries. If you want, drizzle some melted chocolate on top of the berries, or serve as is. Do not assemble more than a couple hours before serving, or else the meringues will become soggy.

Pin It Now!
No comments:
Post a Comment